You can use our widget to provide a seamless customer experience when your users would be able to get instant support in chat, share their feedback, raise private requests, or search articles for immediate self-service directly on your website.
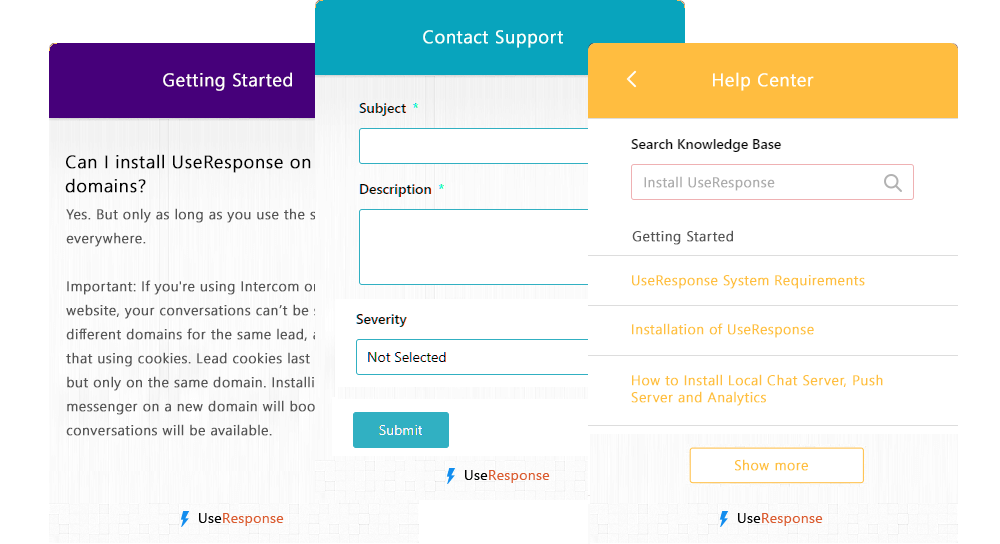
UseResponse widgets' look and behavior can be totally customized to match your corporate brand book and workflow.
We can identify users in widgets if they logged in to your website or application via Single Sign-On
How to Manage Widgets
Let's review how to create a widget profile and set it up to cover your business specifics. First, go to Administration » Support Channels » Widget and edit the default widget.
Add Channels
You'd need to add channels your users may contact you. The list of channels depends on the number of purchased solutions (Feedback, Help Desk with Live Chat, Knowledge Base). In Administration » Applications you can activate available channels. Here is the list of all possible channels in UseResponse:
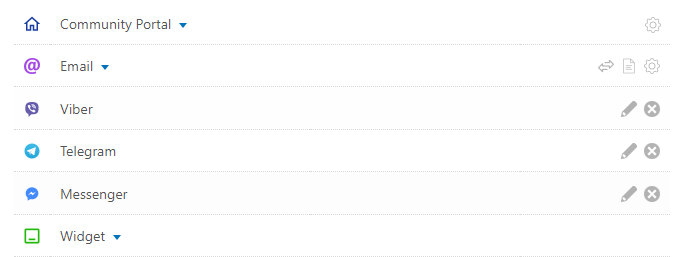
- Feedback and Contact Form - in our knowledge base, you can find some tips on how to add custom fields to your feedback and contact forms and how to build complex conditional or multi-step forms.
- Knowledge Base - embed your online documentation right inside your website;
- Live Chat - insert live chat widget for delivering customer service instantly. More details about setting up the live chat workflow could be found here.
- Messengers - please refer to the article on how to set up messengers in UseResponse;
- URL - you can add your custom channel with a specific URL leading to a particular web page.
Customize Style and Behavior
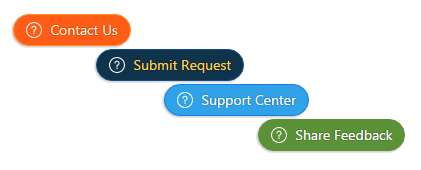
With UseResponse you are able to set custom colors for each channel, choose one of the predefined background themes instead of a default one, decide whether to display the widget title or not.
You can even customize the certain period of time when the widget icon will be displayed for your customers. Please find more details on how to set up business hours in our knowledge base.
There is also the option to match the widget design to your corporate style by adding custom CSS and JS as described here.
How to Implement Widget
Once the widget is customized, preview it, copy the generated code, and:

- Add it to the required place of your website or web application.
- Or use widgets right on your community pages by clicking "External Scripts" in the Menu where you can put the widget code.
In order to use several widgets with different settings and integrate them in different locations of the website or application, you need to use profiles. To create a new profile, click New » Widget in Administration » Support Channels and perform the above-mentioned steps to set it up.
Custom Use Cases
For all custom use cases that are not covered in automation and chatbots, please refer to Developer Manual for Widgets instructions.